


1. Log in to your Namecheap account
2. Find the domain you want to use with your Unbounce pages and click ‘Manage’
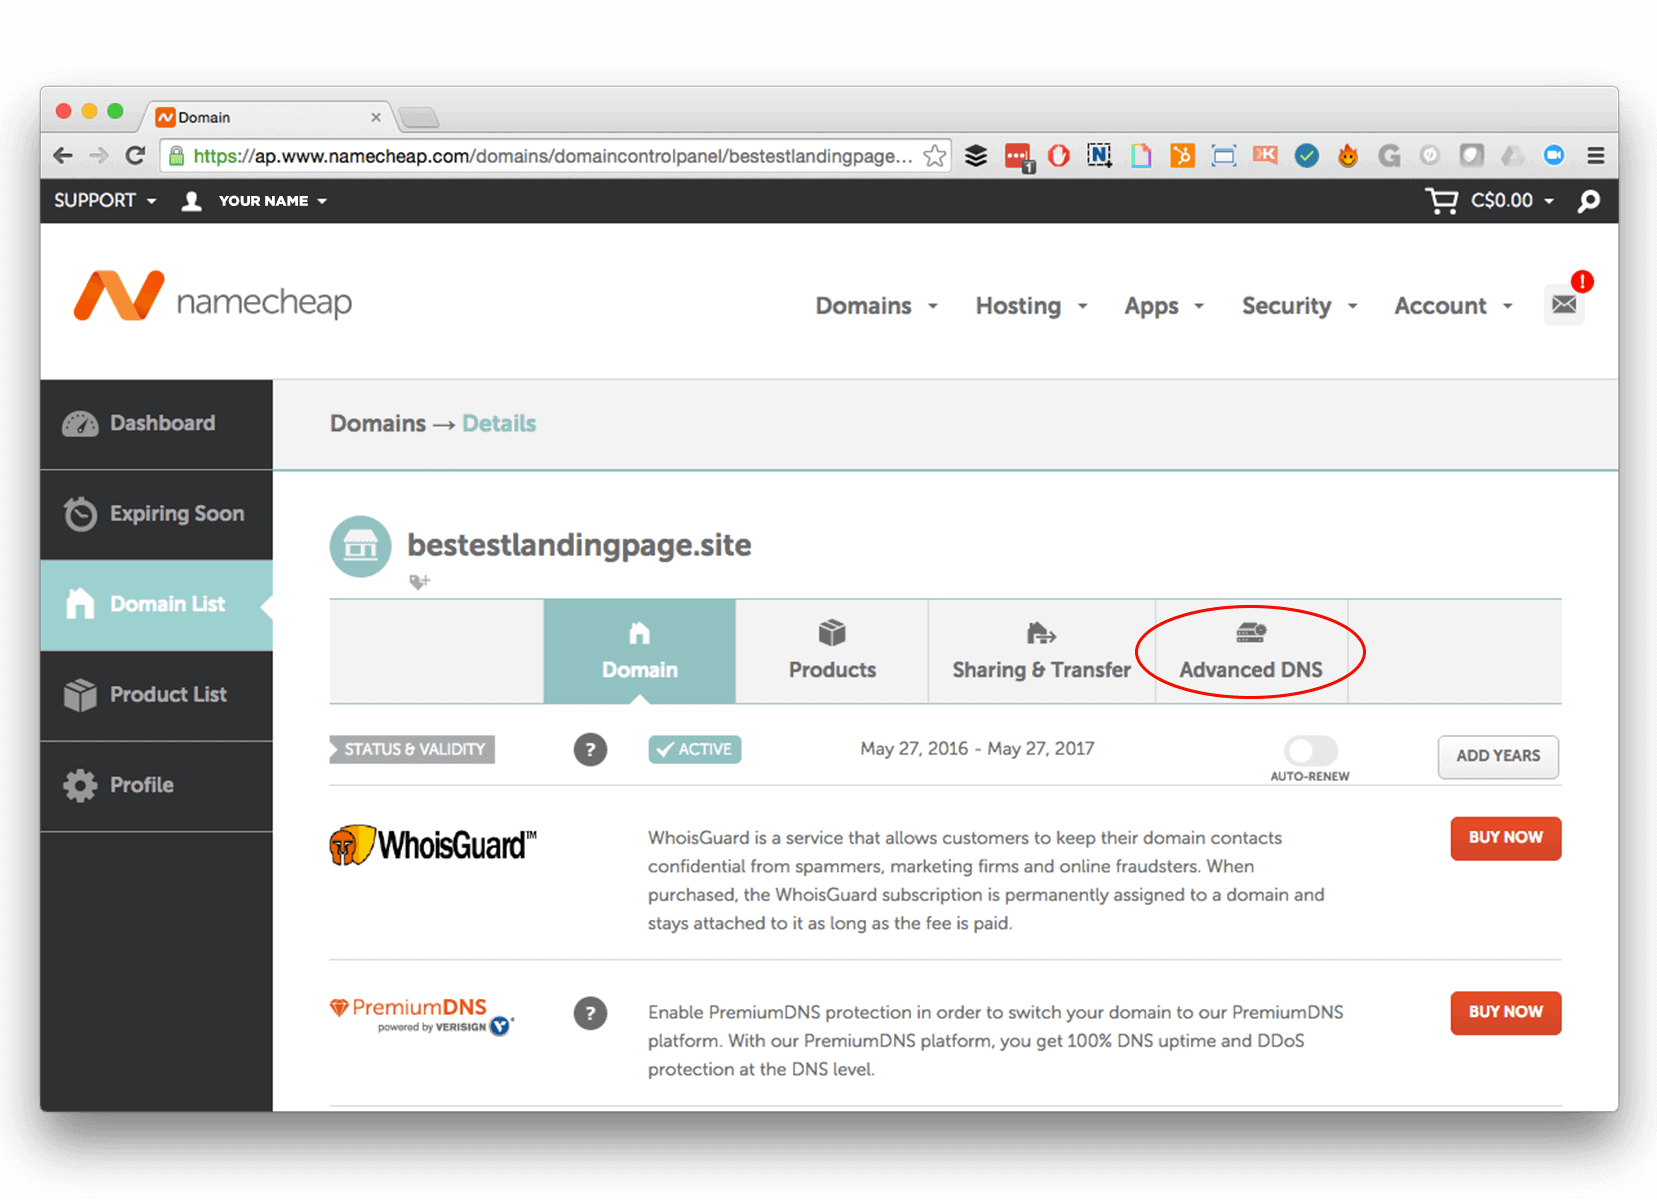
3. Click the ‘Advanced DNS’ tab.
4. On the resulting Advanced DNS page, navigate to the ‘Host Records’ section and click ‘Add New Record’
5. In the resulting dropdown, select ‘CNAME Record’
6. For the remaining three form fields, do the following:
- In the ‘Host’ form field, enter the subdomain you want to use for your Unbounce landing pages (like try._____.com or get._____.com).
- In the ‘Value’ form field, enter ‘unbouncepages.com’
- TTL: leave the dropdown set to Automatic.
7. Click the green checkmark to save changes.
8. Sit tight and wait.
- Changes to your Namecheap account may take anywhere from a few minutes to 48 hours to take effect, meaning you may need to wait before you can publish pages to your desired domain.
- When your domain is ready to be used on your landing pages, it will be marked in your Unbounce account, under ‘Domains’, as ‘working’.
9. Close this lightbox and continue on with Step 2 on the initial landing page to set up your domain